Documentation / Configuring CIQ Depot with Red Hat Satellite
Configuring CIQ Depot with Red Hat Satellite
Prerequisites
This assumes the following:
Satellite 6.13 is installed. You have whitelisted depot.ciq.com and rsync.depot.ciq.com. You have been provided your access token to depot.ciq.com products by contacting support@ciq.com
Instructions
On the CIQ Depot website
From the main page on depot.ciq.com select your products:
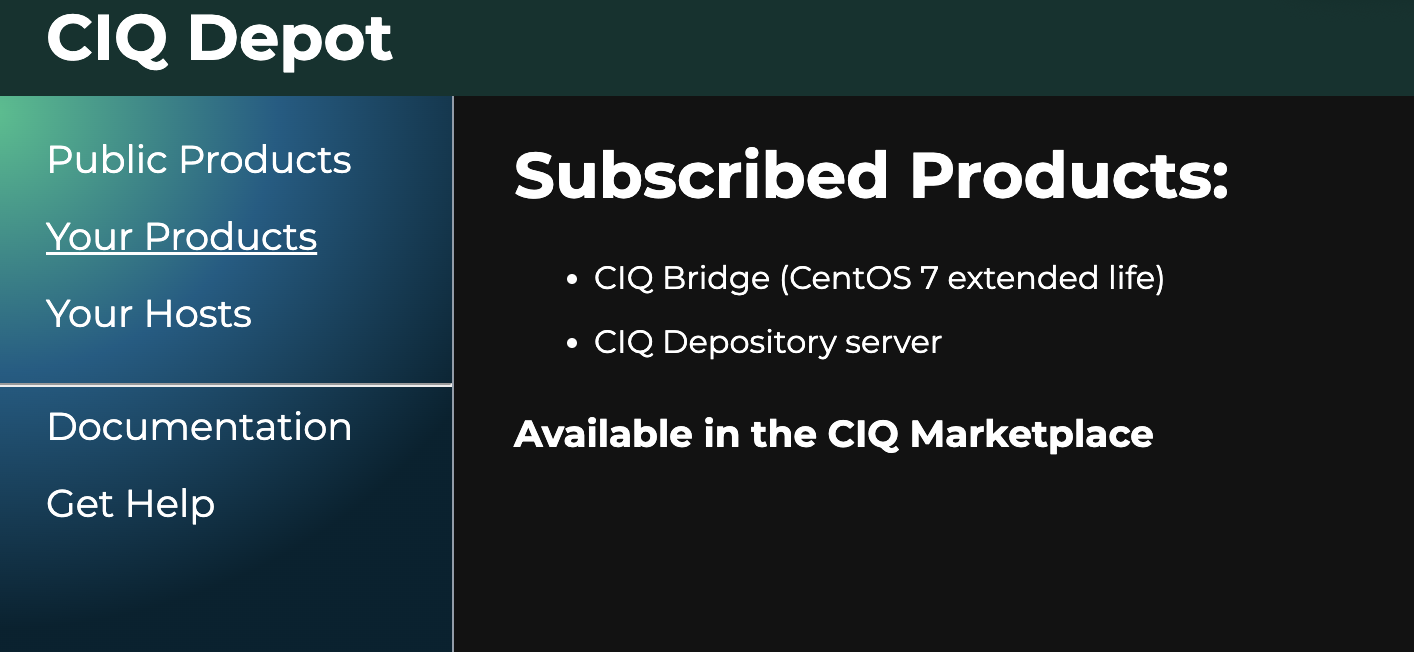
Select the desired product. In this example, we are choosing CIQ Bridge.

Next to the repository you want to add, click the menu icon and select Satellite Config. The following screen will appear, providing all the information needed to set up the repository in Satellite.
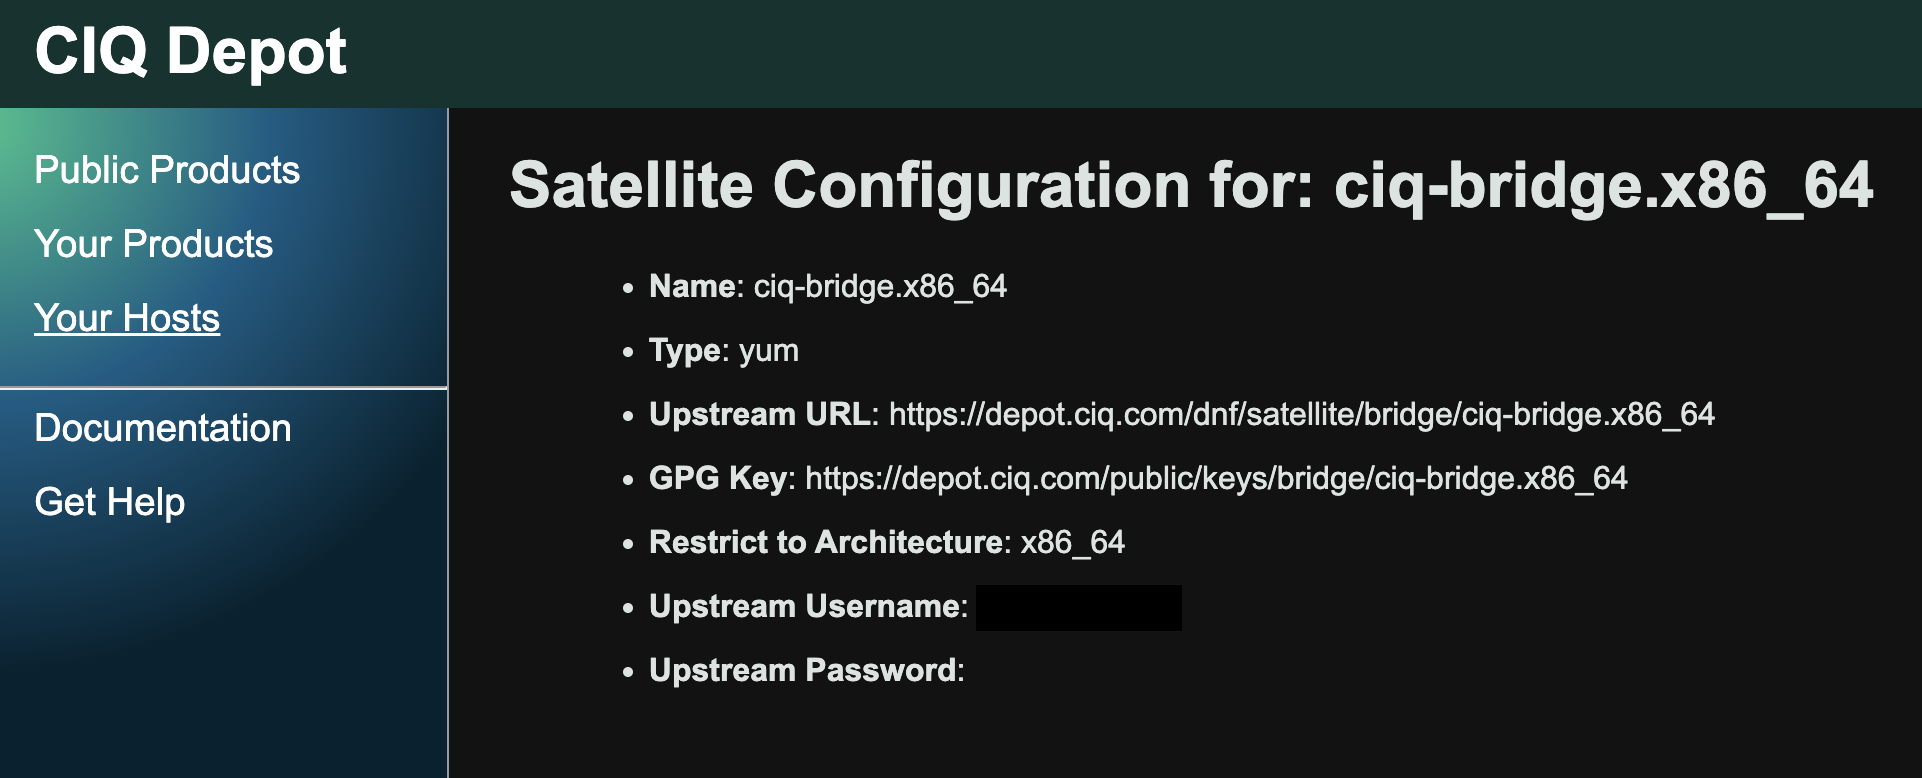
Please download the GPG key from the provided URL on the screen.
On Satellite
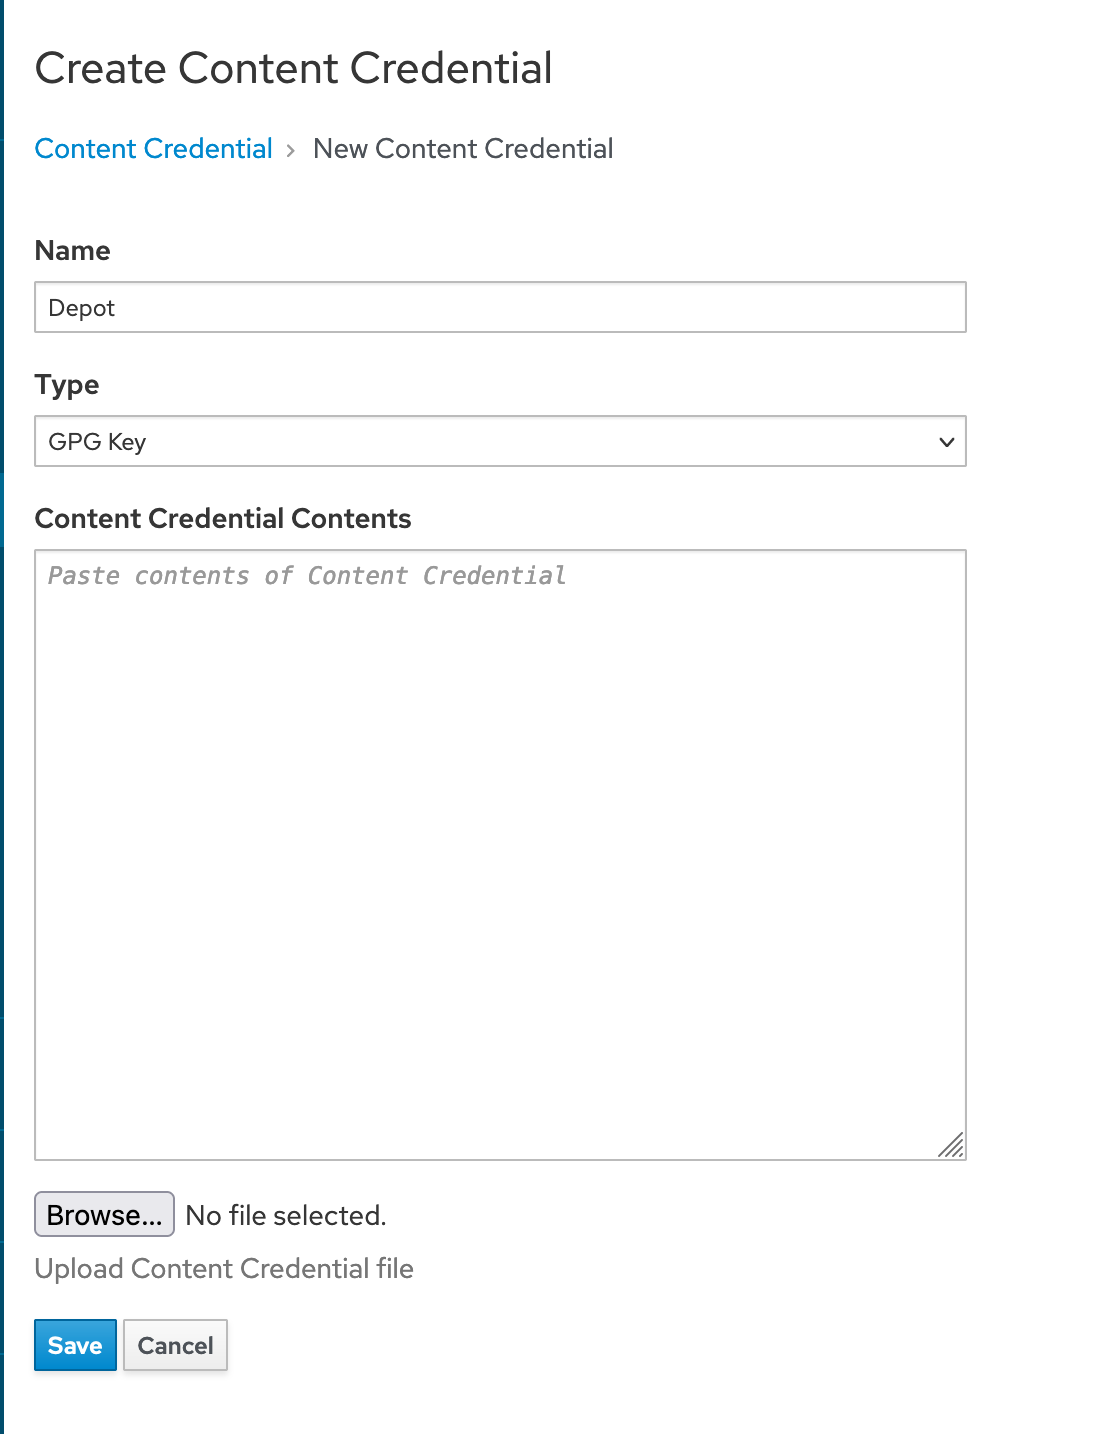
In the Satellite web interface, browse Content menu > Content Credentials.
Click the “Create Content Credential” button.
- Name: Enter an appropriate name for the key. For example,
RPM-GPG-KEY-CIQ-Bridge. - Type:
GPG Key - Content Credential Contents: Paste the contents of the downloaded GPG key into this text box. Alternatively, click the “Browse” button and select the downloaded GPG key file.
Click the “Save” button.
Create the 3rd-party product.
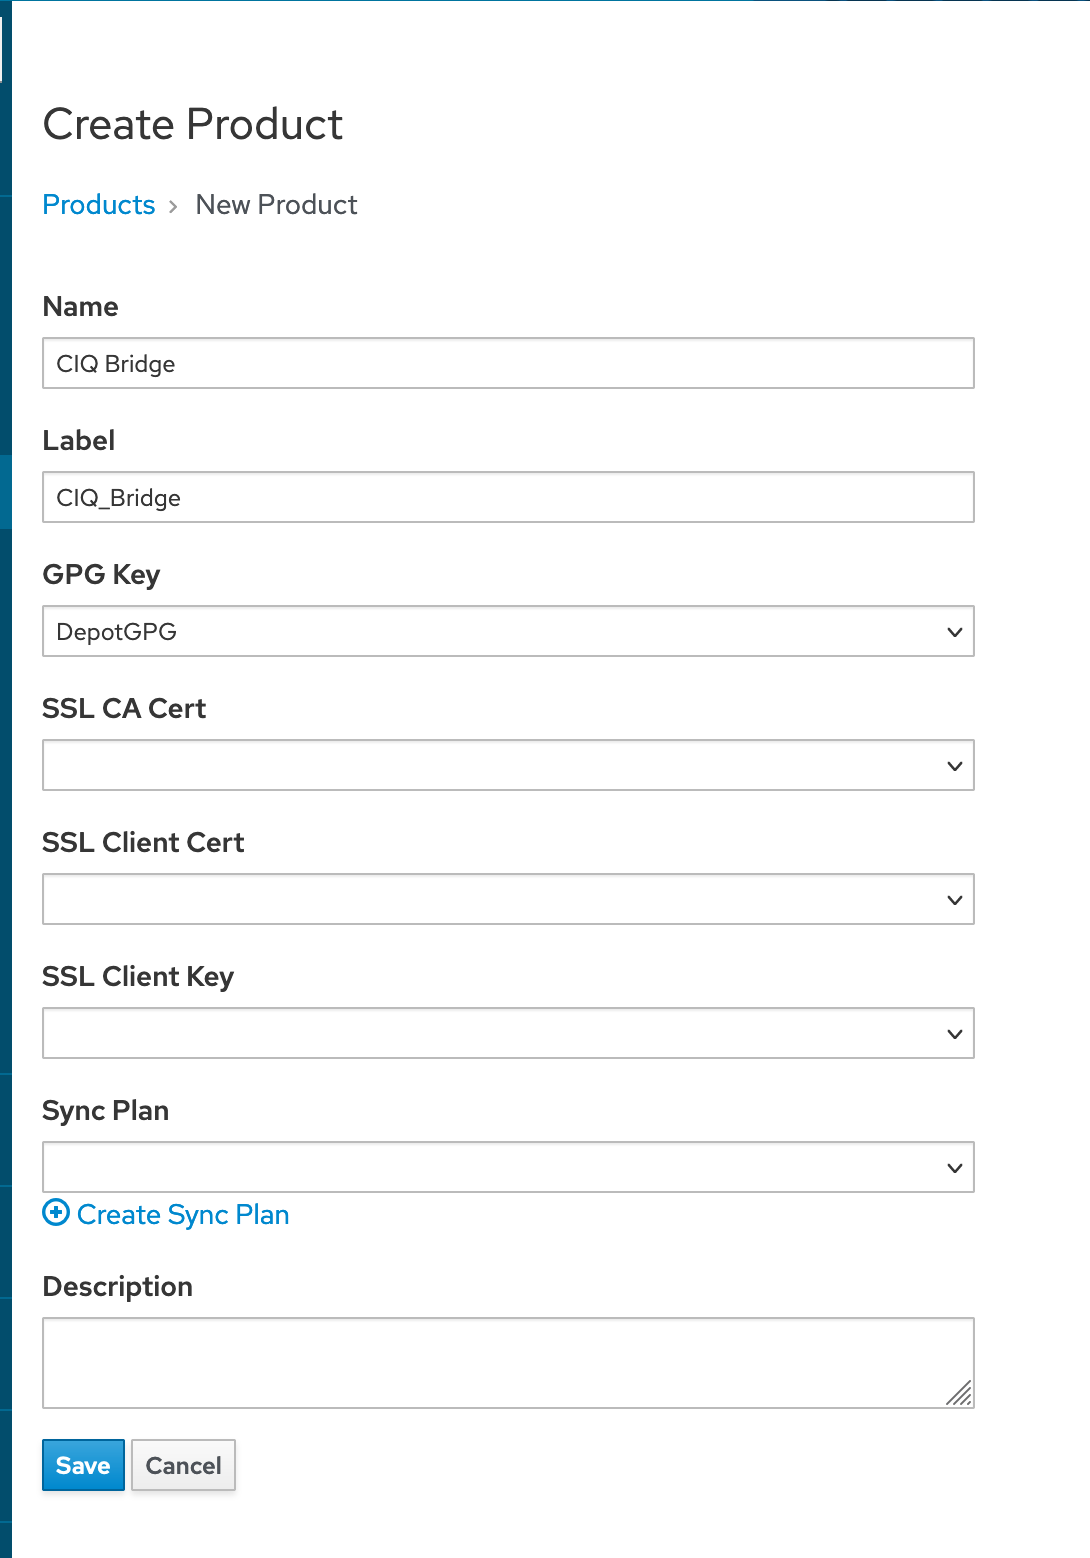
In the Satellite web interface, browse Content menu > Products. Click the “Create Product” button.
- Name: Enter an appropriate name for the product. For example,
CIQ Bridge. - GPG Key: Select the GPG Key
Click the “Save” button.
Create a repository inside the 3rd-party product
One should be left in the Repositories tab of the new product. Click the “New Repository” button.
- Name: Enter an appropriate name for the repository. For example,
CentOS7-Bridge. - Type:
yum - Upstream URL: Insert provided URL from depot.ciq.com
- Verify SSL: Enabled by default; select as appropriate.
- Upstream Username: Enter the provided username from depot.ciq.com.
- Upstream Password: Enter the provided password from depot.ciq.com.
- GPG Key: Select created GPG Key
Click the “Save” button.

Sync the newly created repository
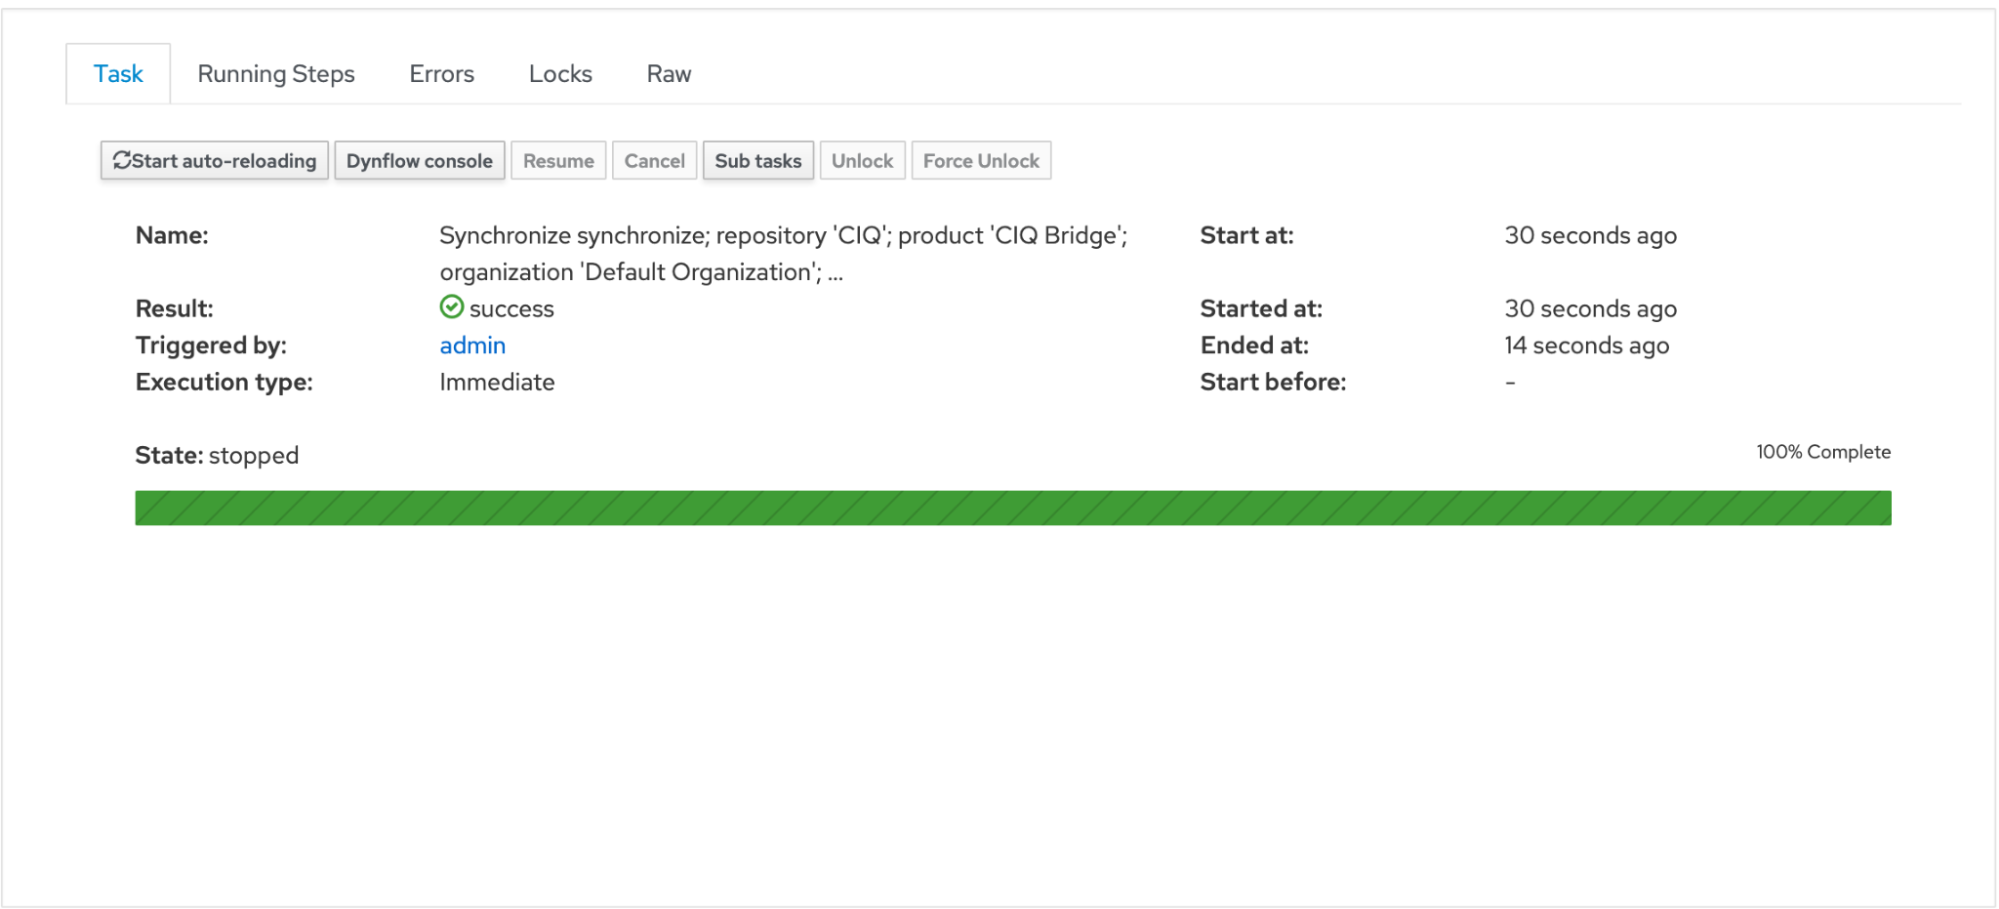
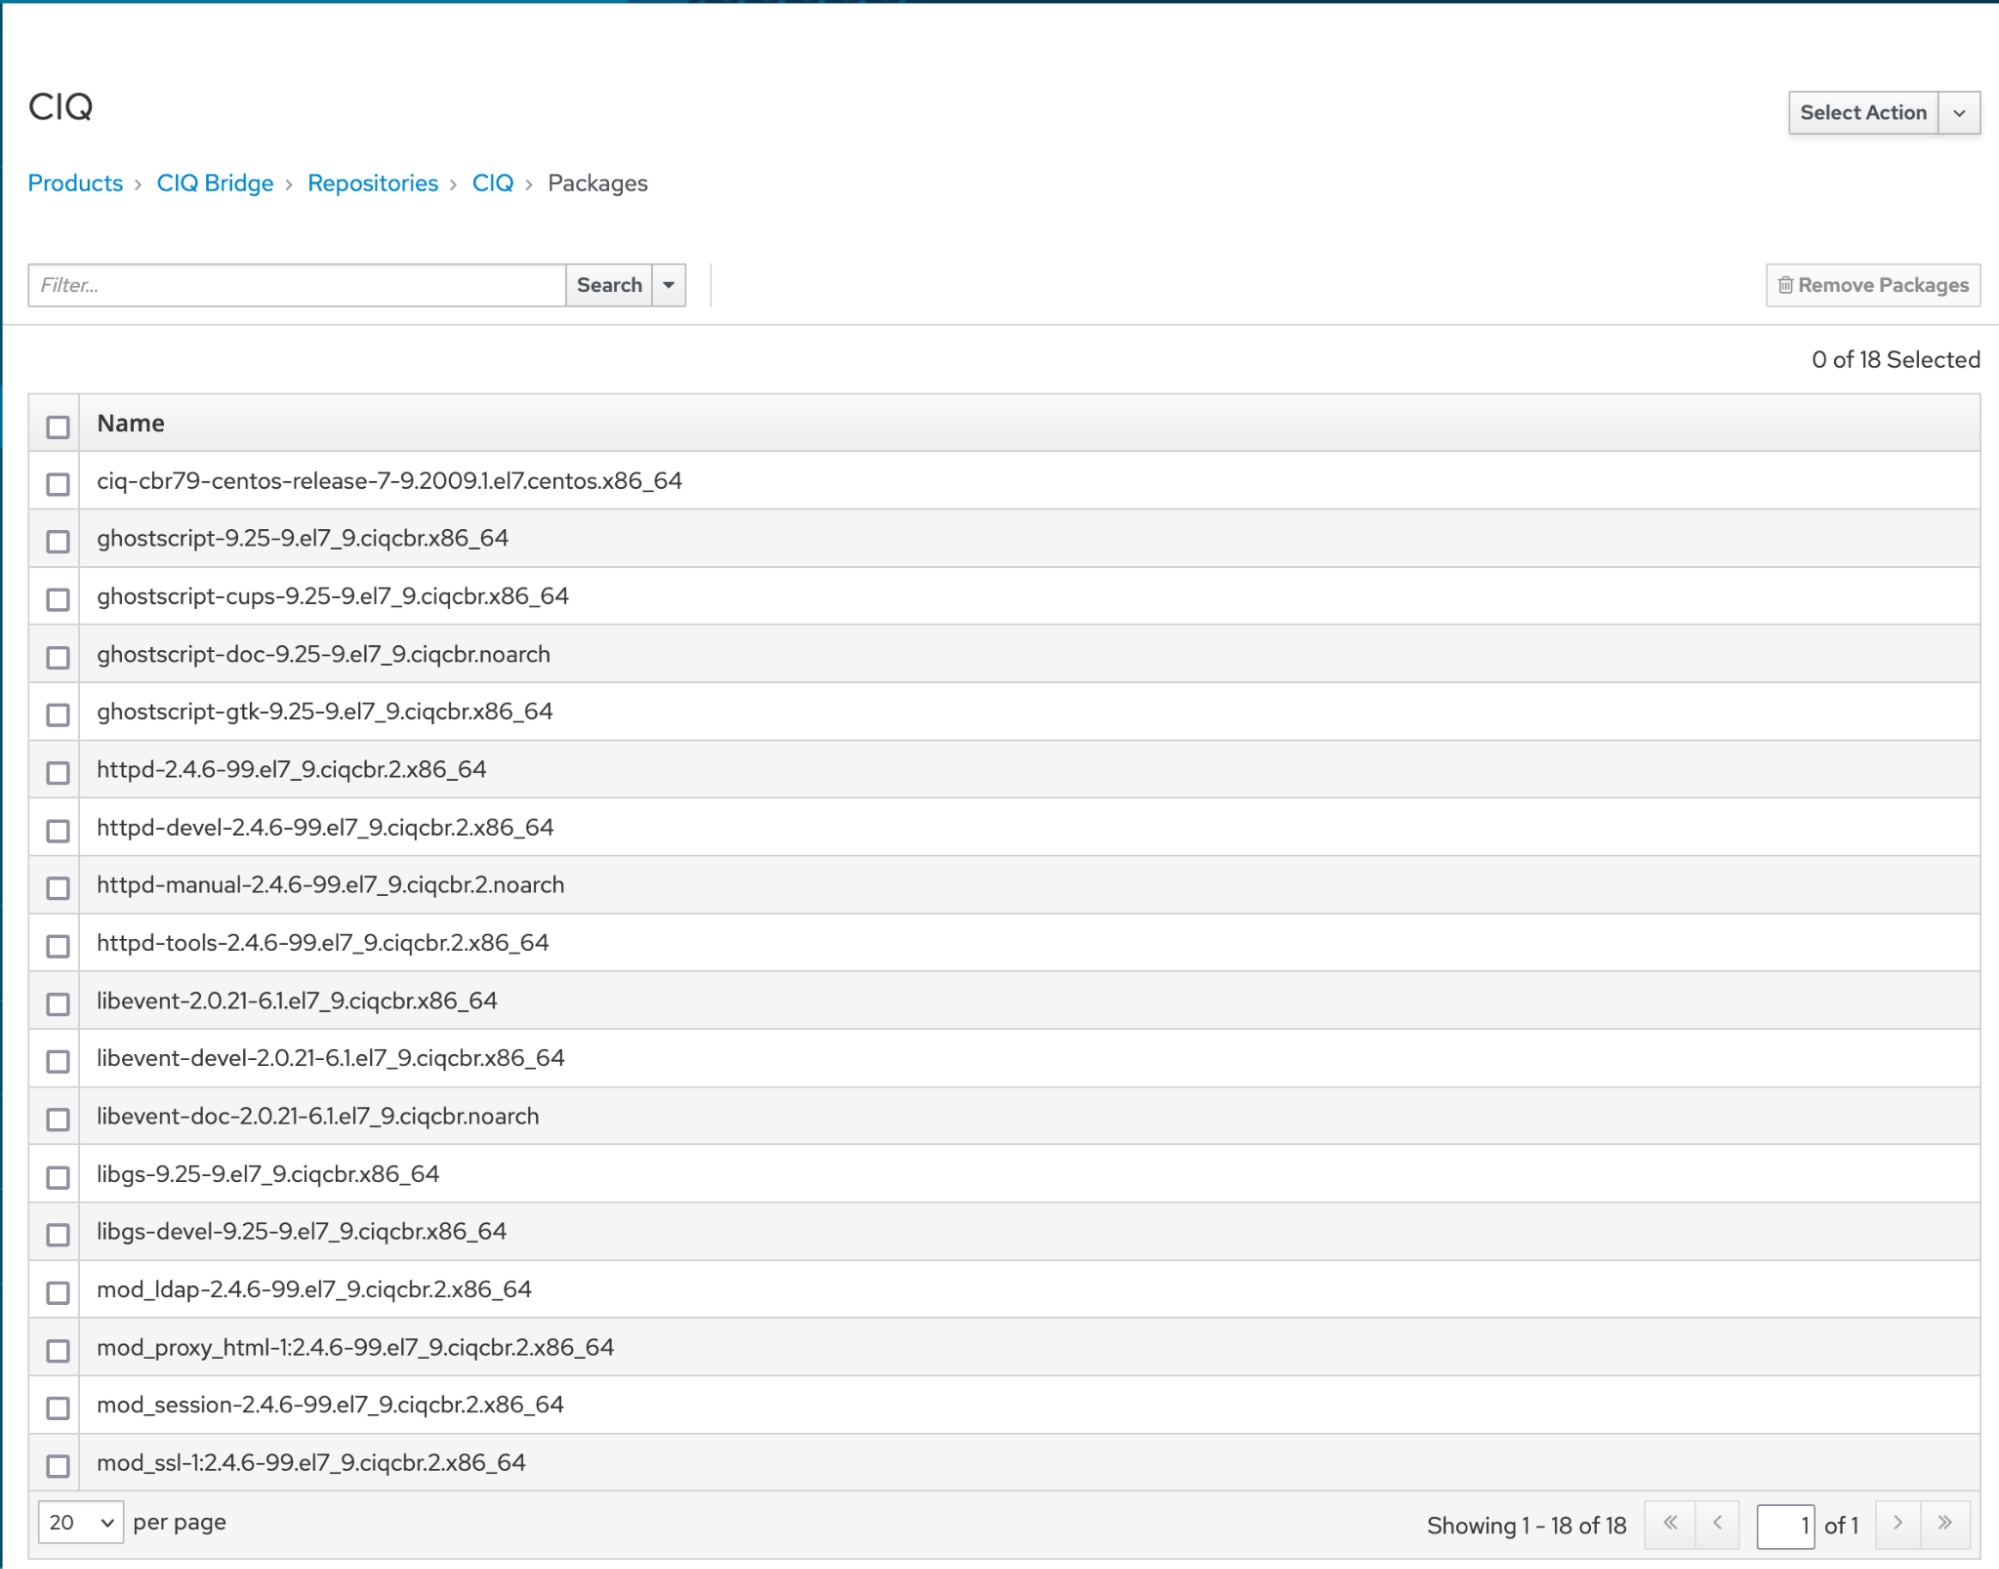
One should be left in the Repositories tab of the new product. Click the checkbox next to the new repository name and then the “Sync Now” button.
Ensure that the repository has been added to the desired content views and that a new version has been published and promoted to the desired lifecycle environment.
